Installing Direct-Attach SolarNets Supports
Last updated at
Overview
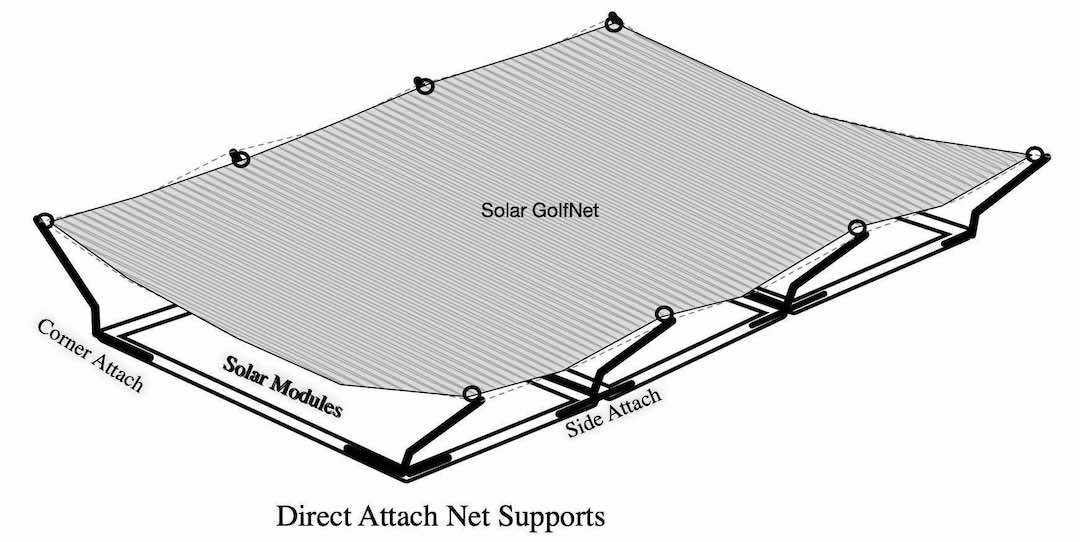
SolarNets is most easily installed using Direct-Attach net supports. The Direct supports come as corner-attach and side-attach versions, and attach directly to the solar module frames. No additional roof penetrations are required for net installations. For uniform appearance and best protection, the net supports should be spaced periodically around the net perimeter, with spaces of 5ft to 7ft between each support.
Caution, while working on solar array, be sure to turn off the solar system at the AC breaker panel.
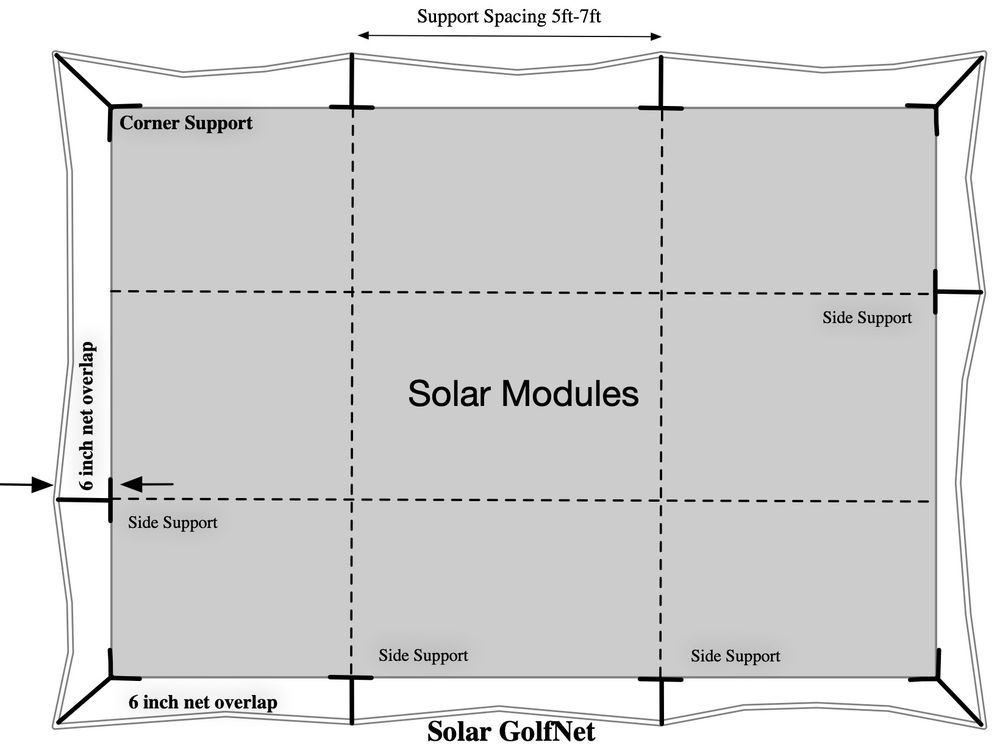
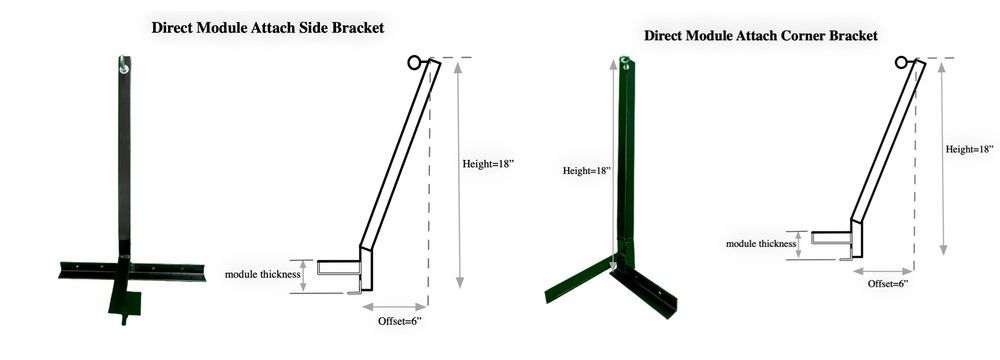
The direct attach supports include a 6-inch tilt-away angle in order to minimize shadows caused by the supports, plus it enables maximum coverage of solar module surfaces.
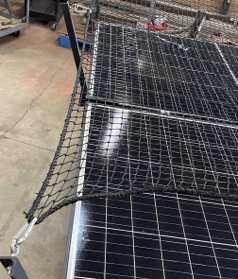
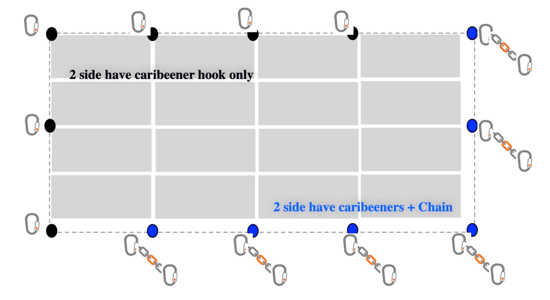
Carabiner clips attach directly to the supports on two side of the net. The opposite two side use two carabiners and a chain segment to enable net tensioning
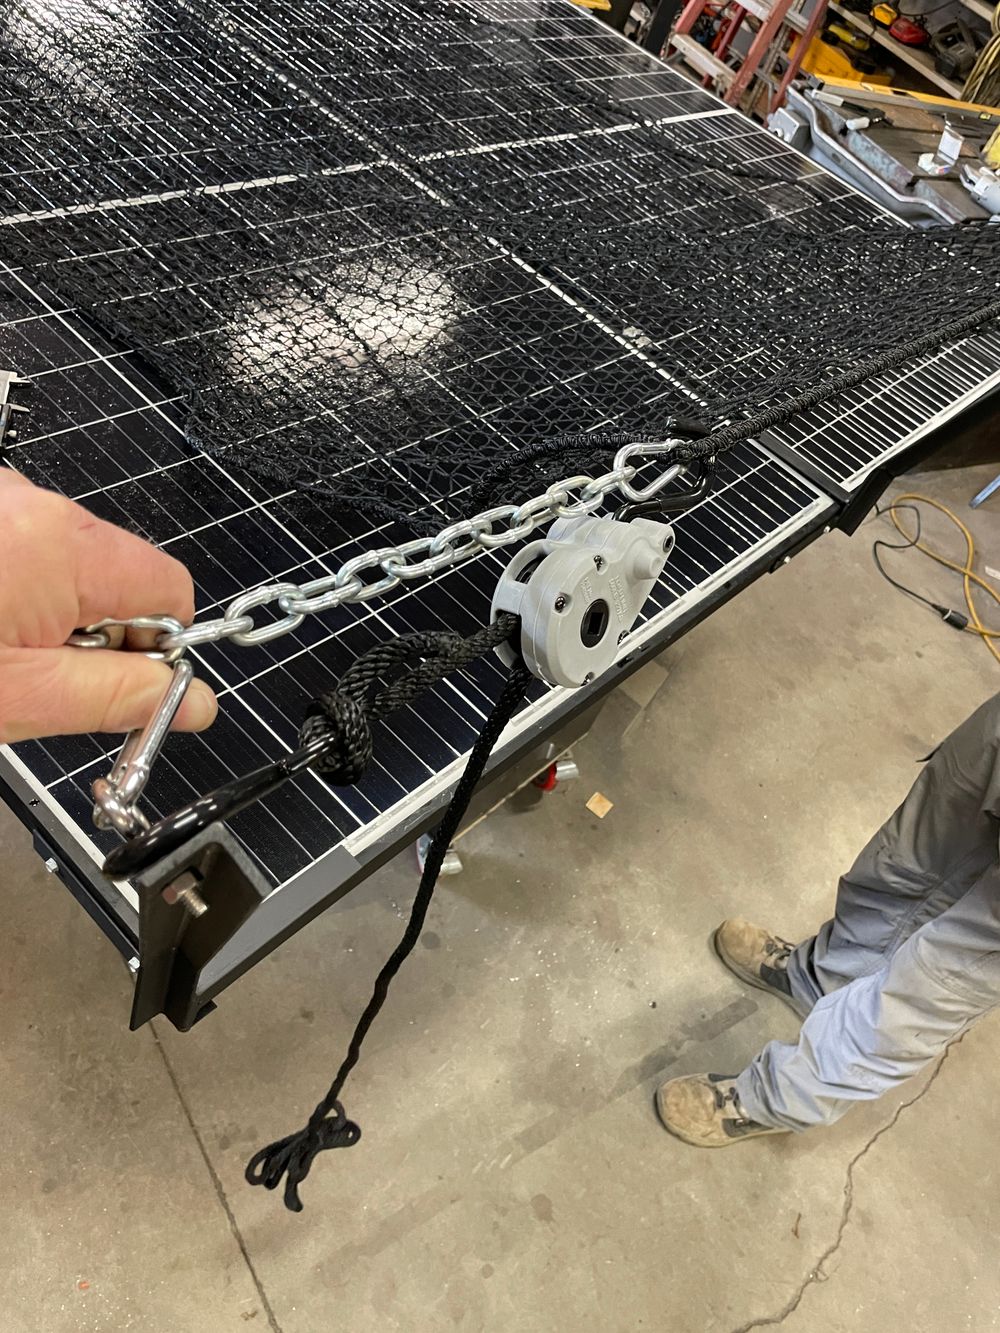
Attaching large nets to supports can be physically challenging. Holding the net tight while attaching carabiners makes it difficult to get the net tight.
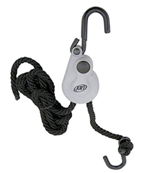
Each net order includes a ratchet specifically designed to enable one-handed tensioning, leaving the second hand free for hooking the carabiner to the tensioning chain.
Selecting direct-attach net supports enable SolarNets to be entirely supported by the solar modules, thus eliminating the need for additional roof penetrations. Supports are available for attachment to solar module corners, or can be side-attached where two solar modules meet.
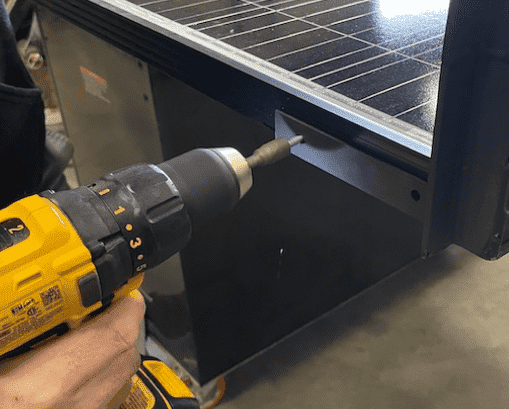
Supports are attached to solar module frame using either two or four self drilling screws.
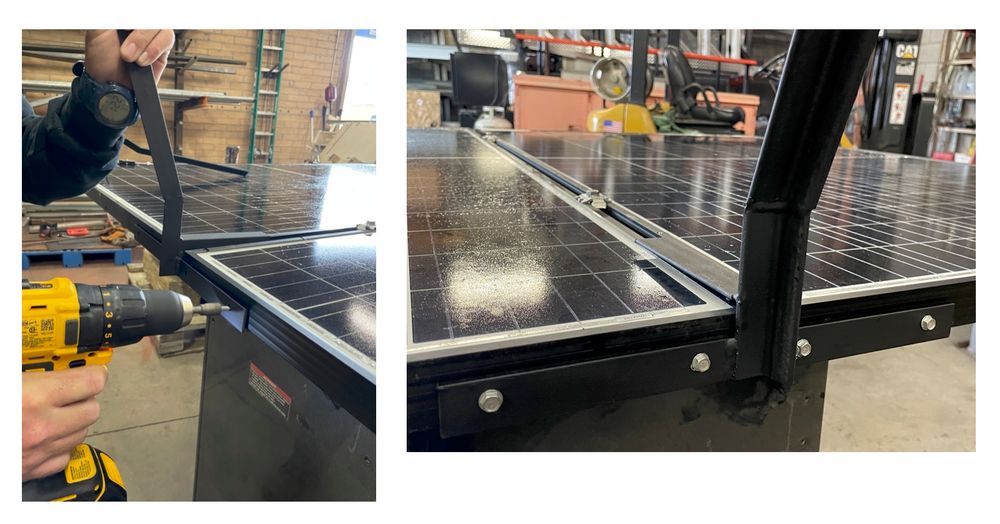
Screws are best installed using a battery powered screw gun, with torque limited to 5.0 lbft.
Do not use an impact driver as it may damage solar modules!