Installation
Last updated at
SolarNets Installation Methods & List of Installers
SolarNets installation time is fastest when using Direct-Attach solar supports, requiring no roof penetrations. Several other support types are also available.
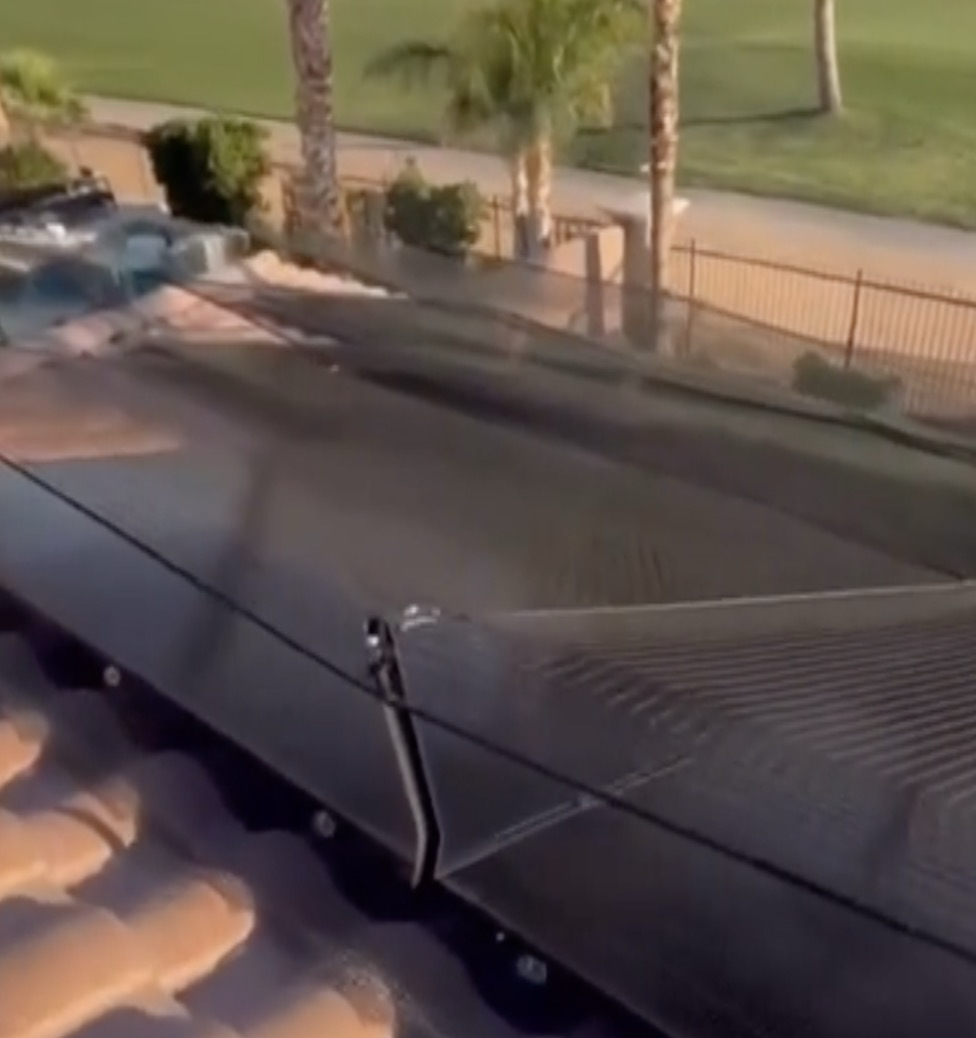
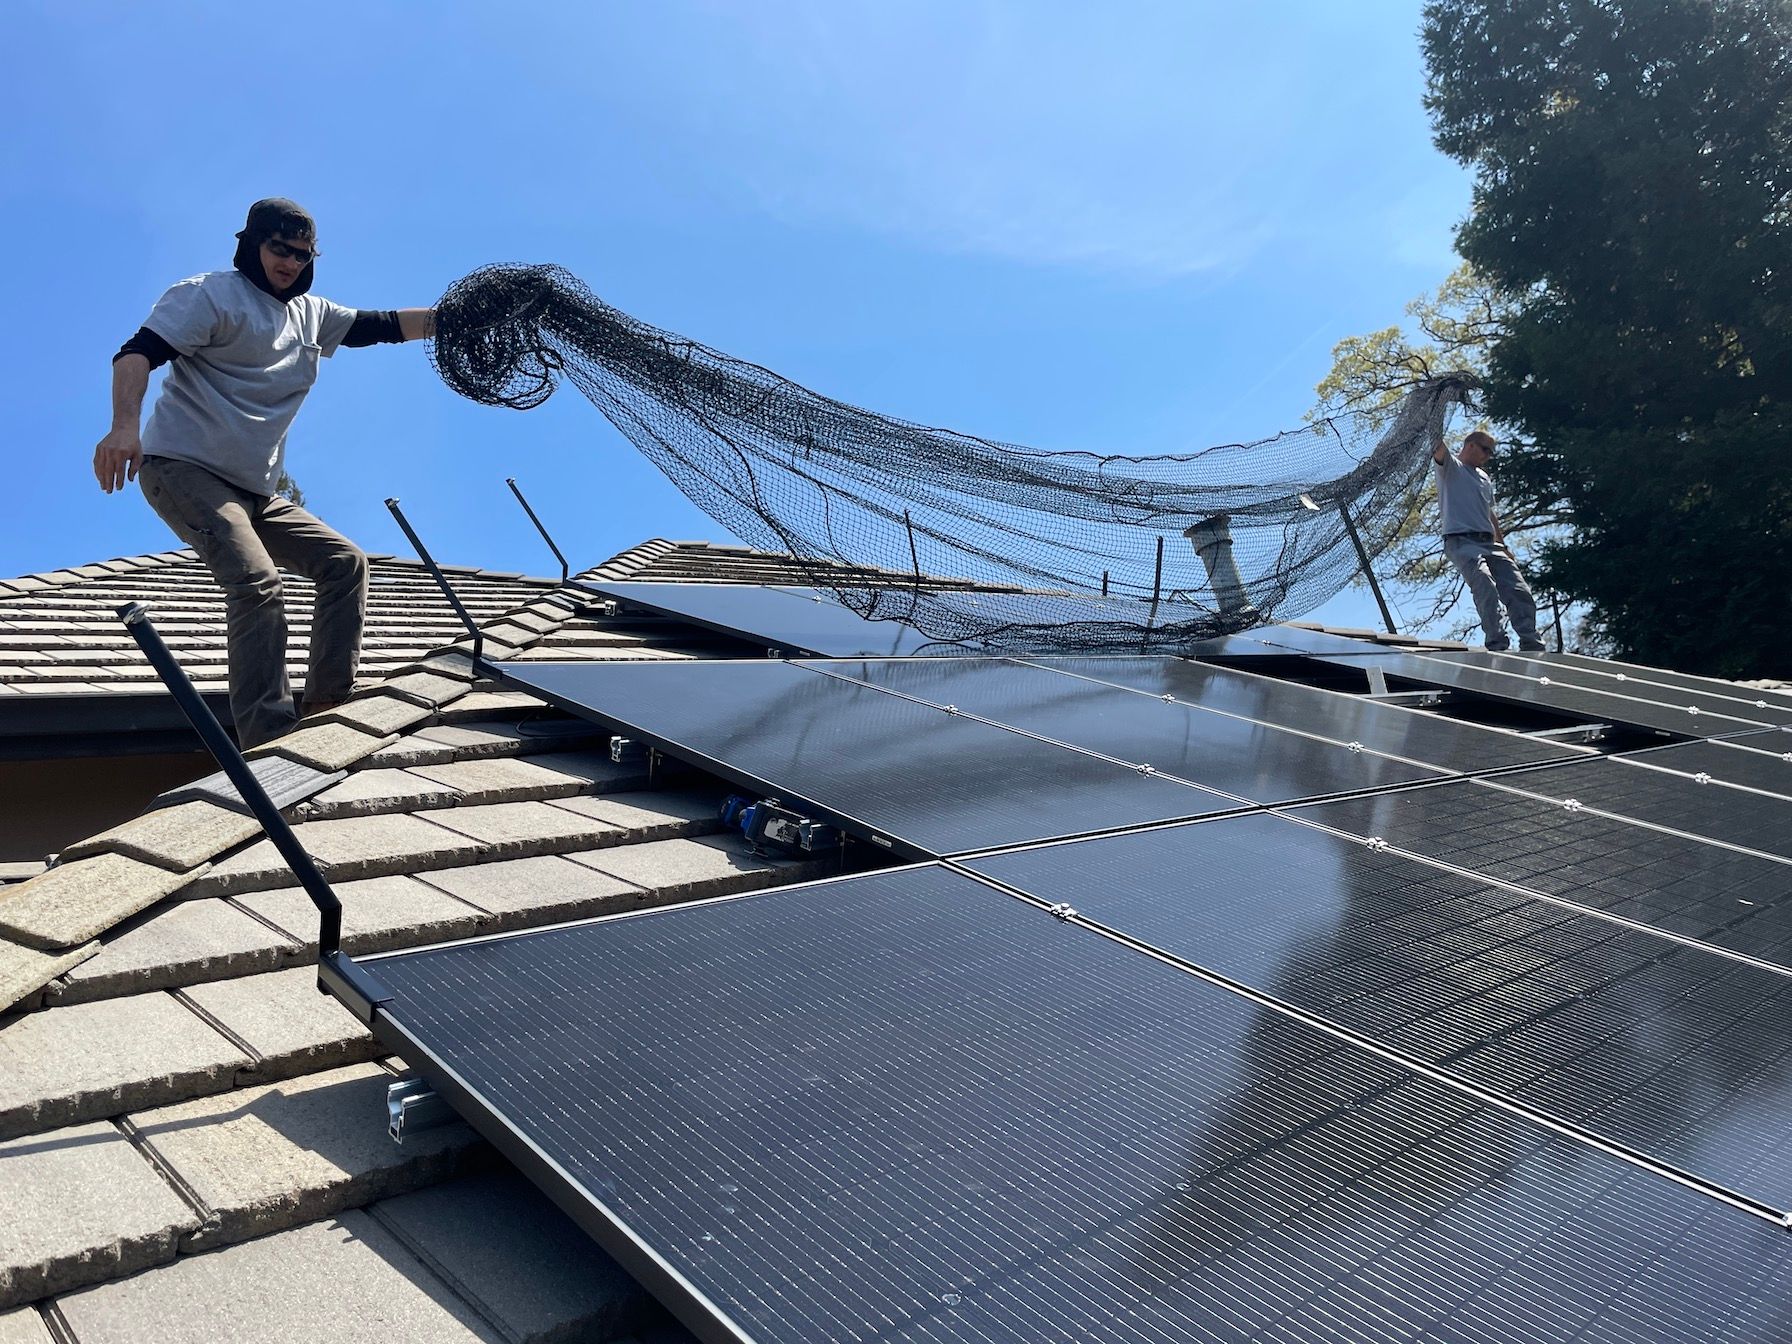
Well-installed Solar Net should cover the solar modules with minimal uncovered area around the periphery, and have minimal droop in the center. But even a net with some droop will afford significant protection. If a net is comprised of multiple smaller nets, join nets together using carabiner spring clips while at ground level, then transport the combined net to the rooftop.
The process of installing the net is best done in 5 steps:
- First, Turn-off the solar system
- Second, Wet the net thoroughly, this will cause net to tighten when drying.
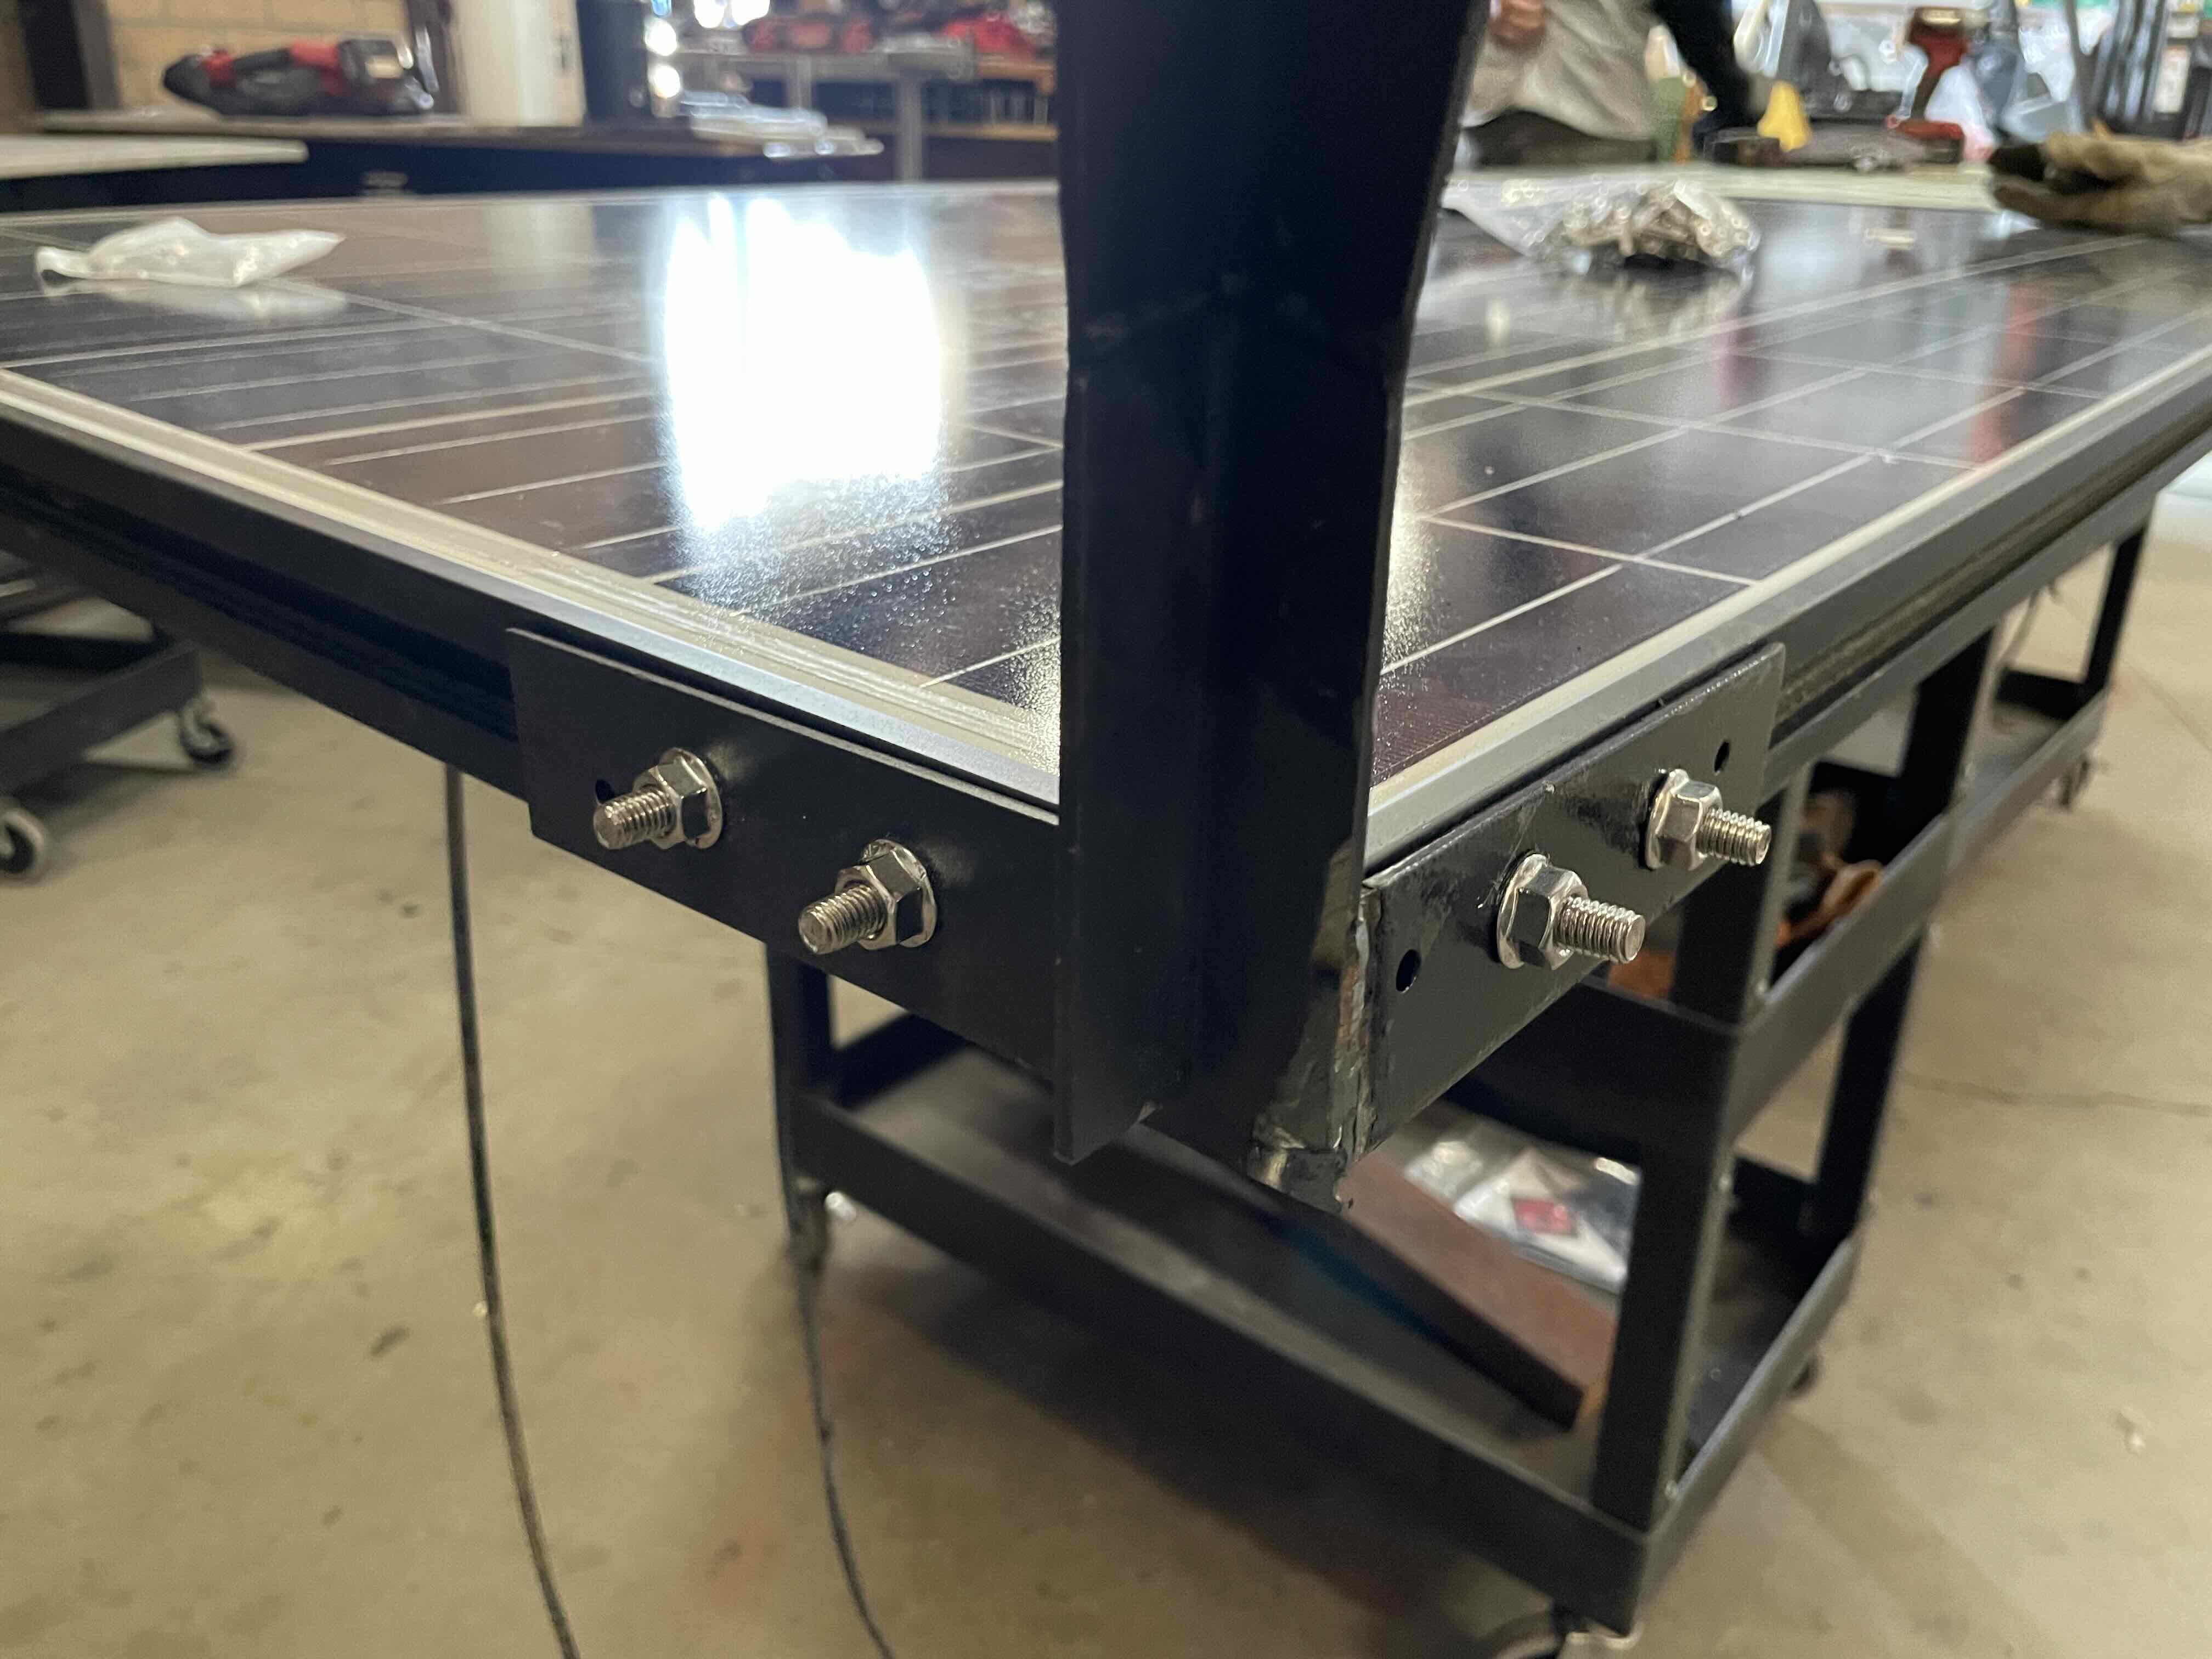
- Third, Install the Corner Net Supports. Install the Side Net Supports approximately every 6ft in gaps between solar modules. Use self-drilling screws (or t-bolts for Tesla-Zep) to attach the supports to the solar panel frames.
- Fourth, Lay the net loosely in place, connecting to the supports as needed to hold the net in place.
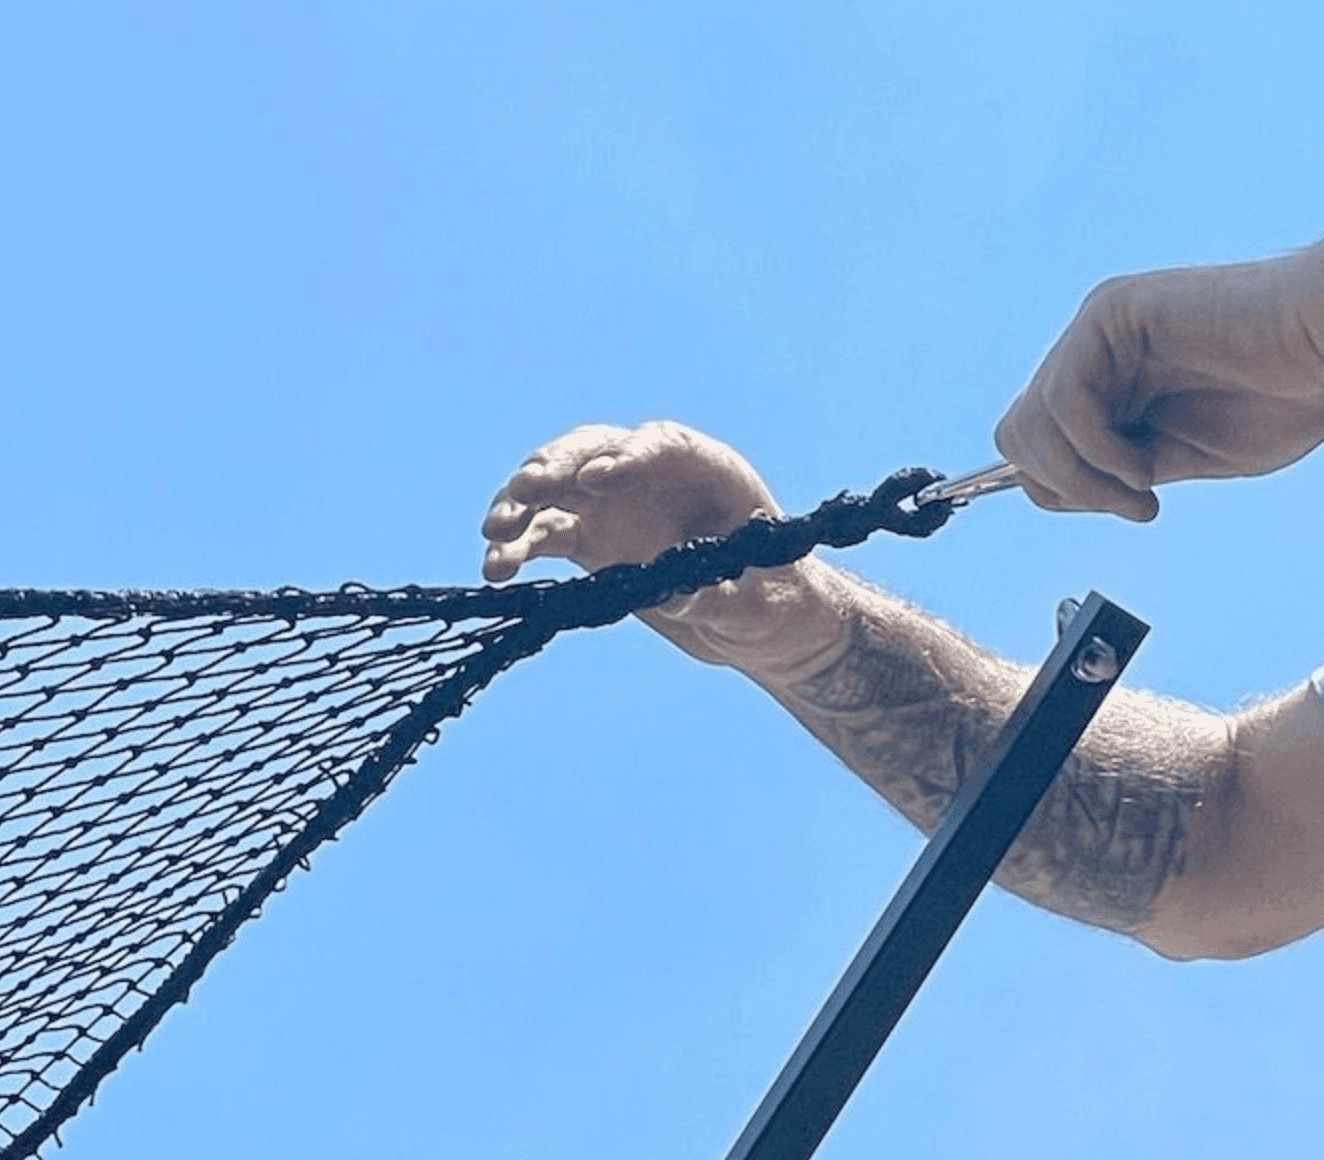
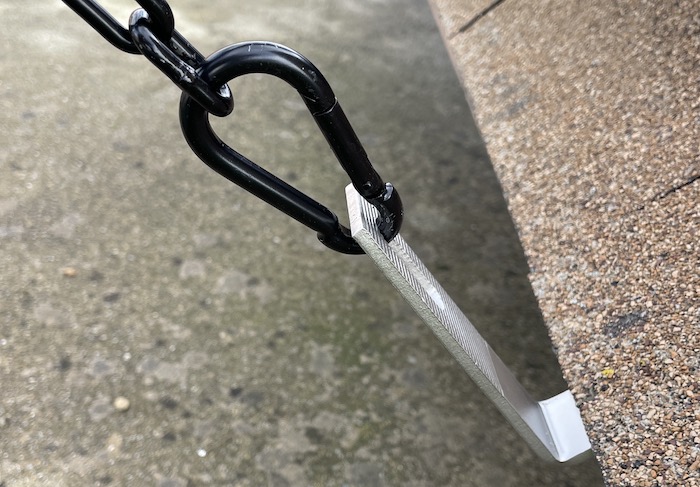
- Fifth, Proceed around the net a couple of times, securing every connection point and gradually pulling the net tighter each time, selecting the appropriate chain link for attaching the carabiner spring clip. A second person can be used to pull the net tight while securing the carabiner spring clips to the adjustment chain.

- Sixth: Tensioning the net is necessary to minimize the net sag between the supports. This is best done when the net is cool and moist. The net is usually clipped directly onto the support brackets on two sides, let's call them the north and west sides. Tension chains are inserted between the net clips and the supports on the south and east edges. The net should be tensioned to eliminate center droop, but not stretched overly tight. Unnecessary tension is passed into the module frame.
- Pull net tight, as needed, twist the corner snaps to consume excess rope before hooking onto corner supports. If the nets are not the side, pull the edge rope past the support bracket, and hook on the net fabric strands. The excess will over hang to partially block the gap along the sides.
Take care that self-drilling screws do not pierce wires that may be laying inside the solar module frame.
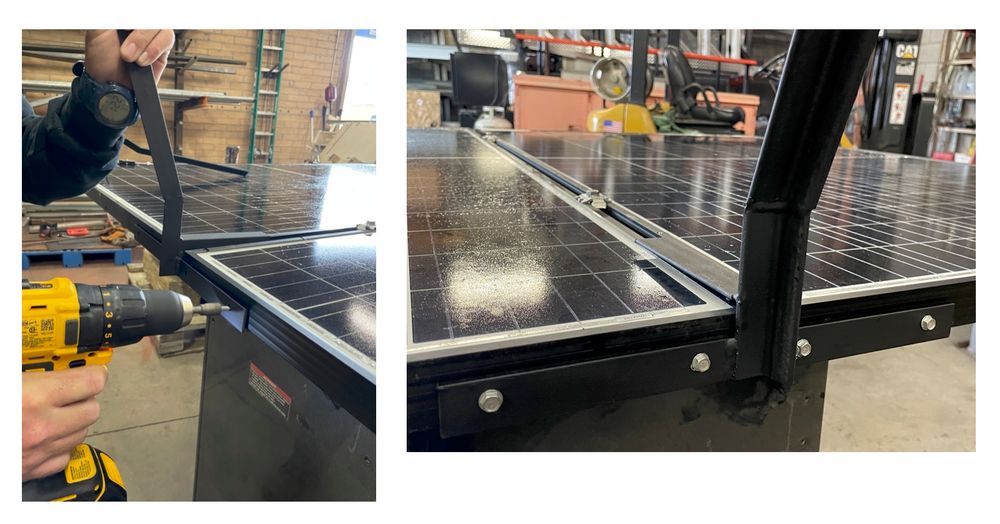
Tesla-Zep modules attach using t-bolts twisted into the grooves in the module frames. No holes are drilled in the frame.
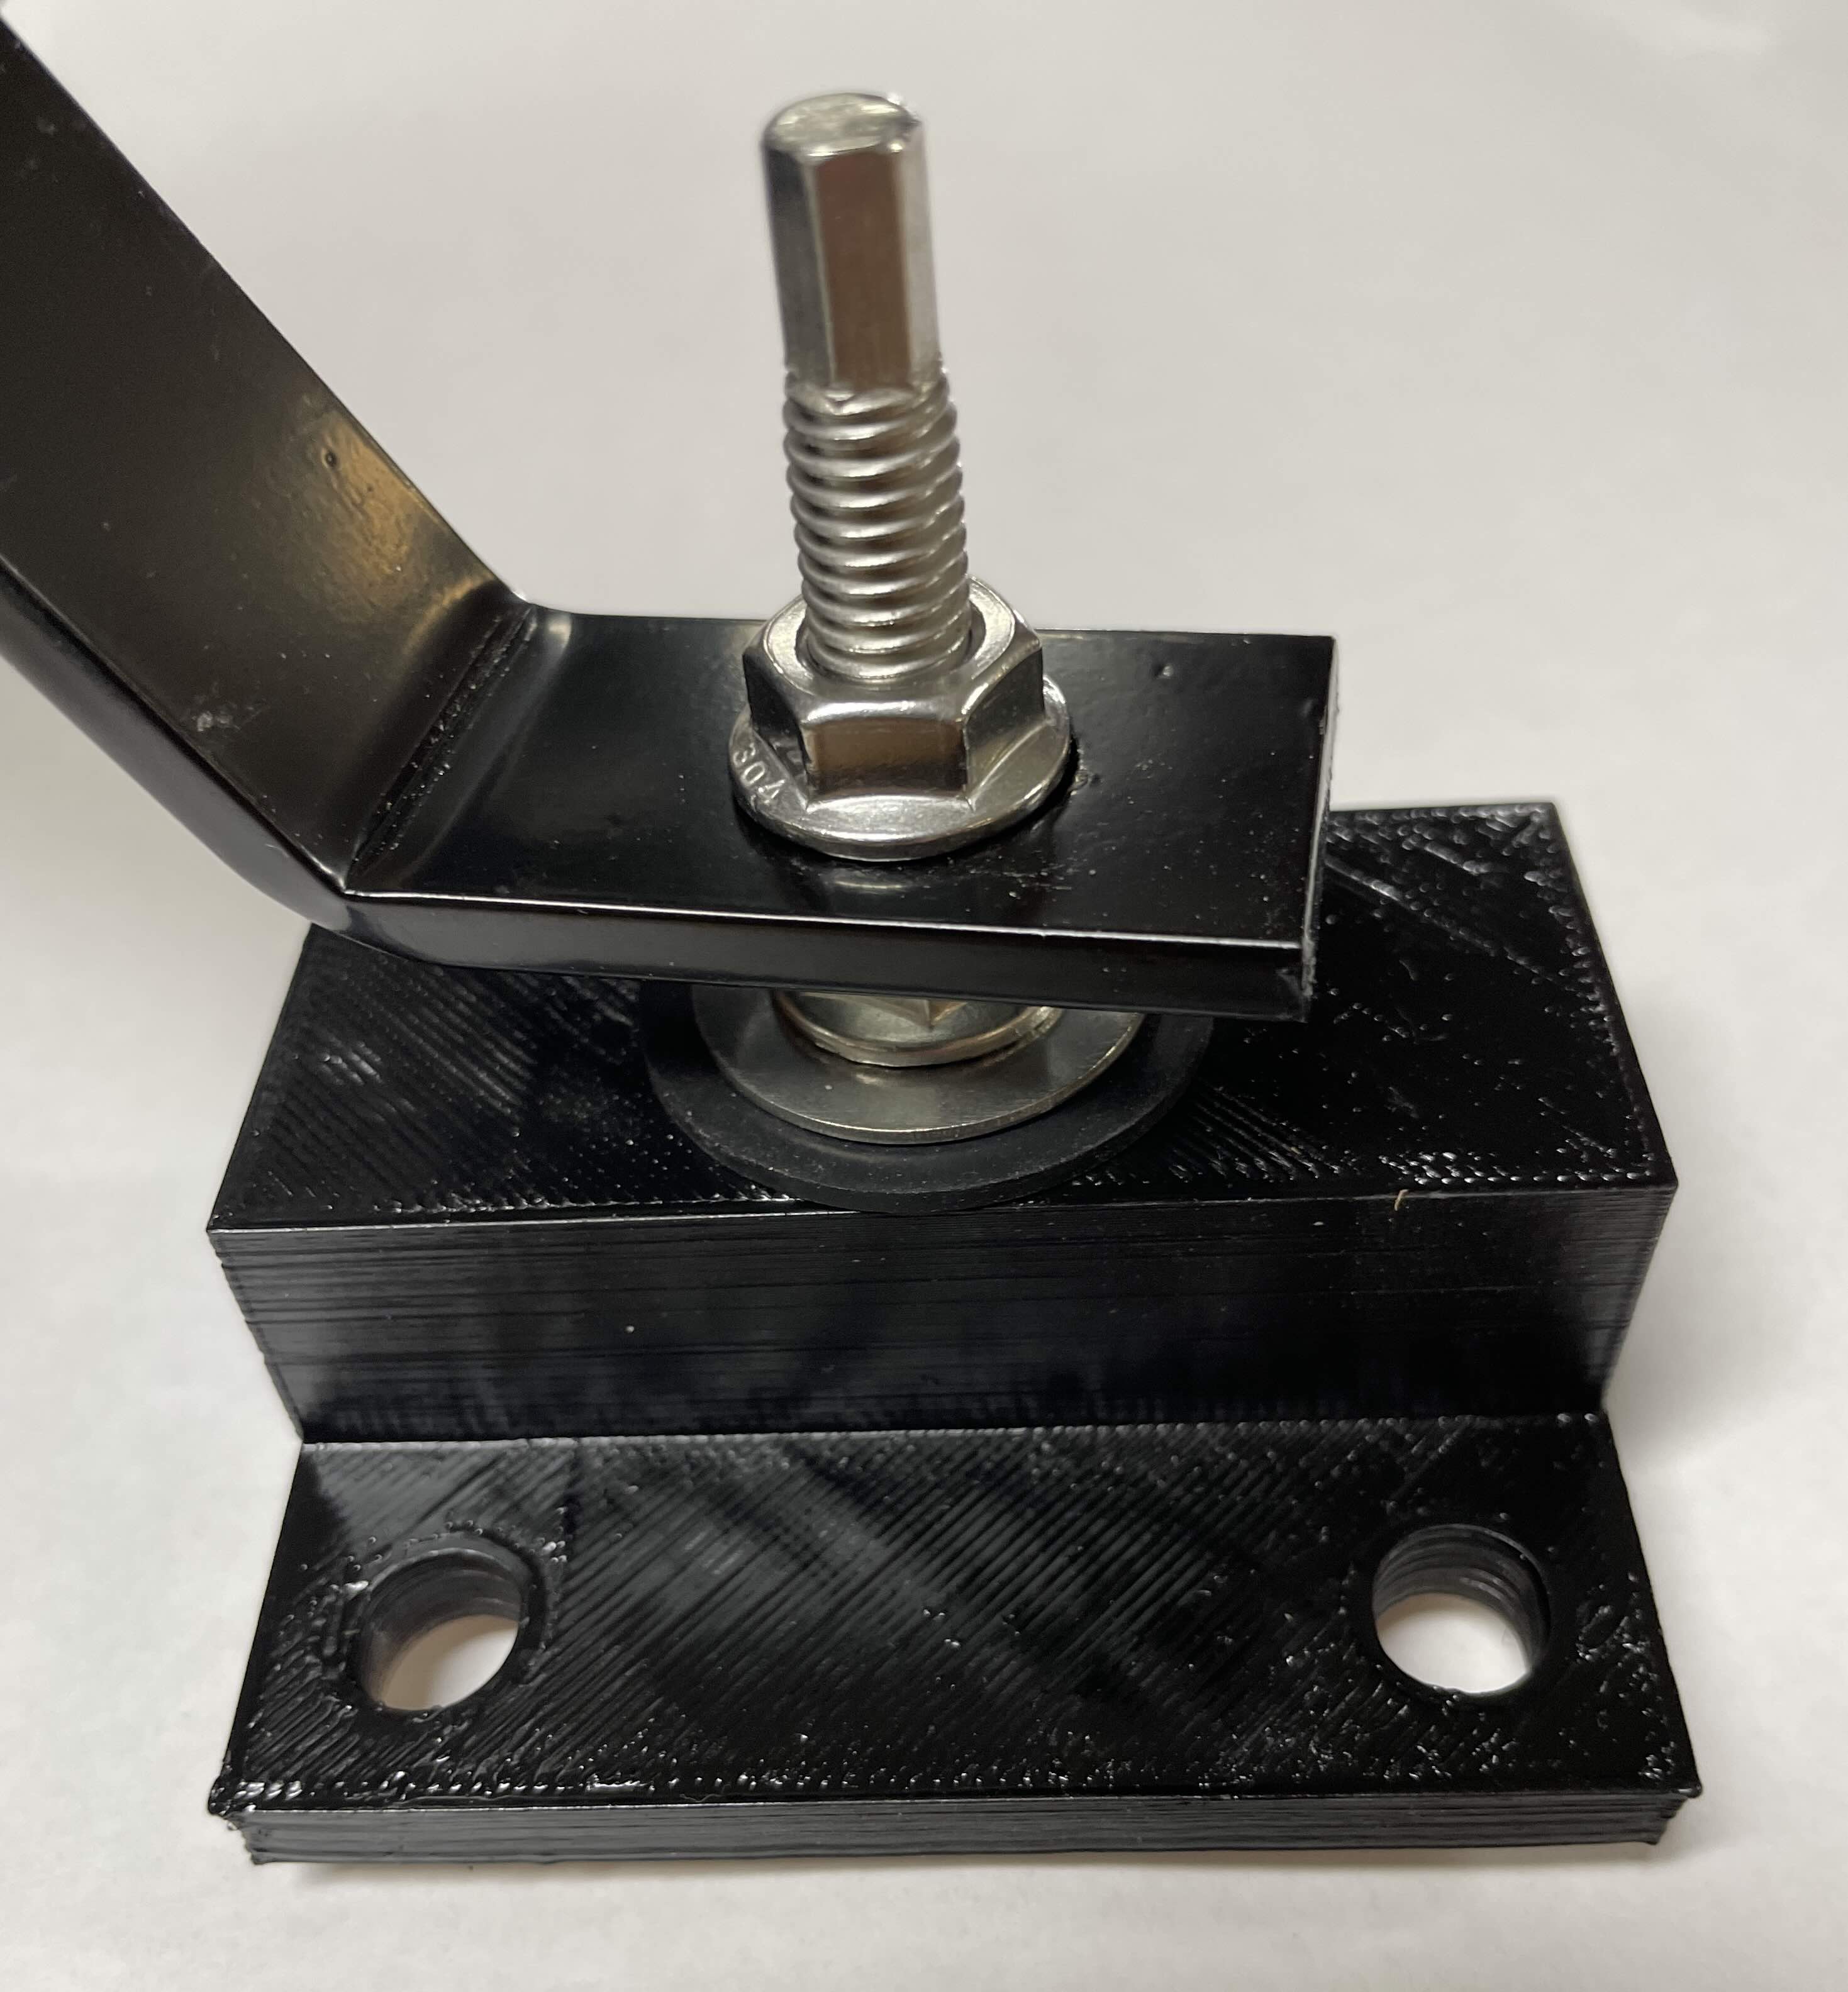
In cases where roof attachment supports are preferred, the 3-point support brackets can be used.
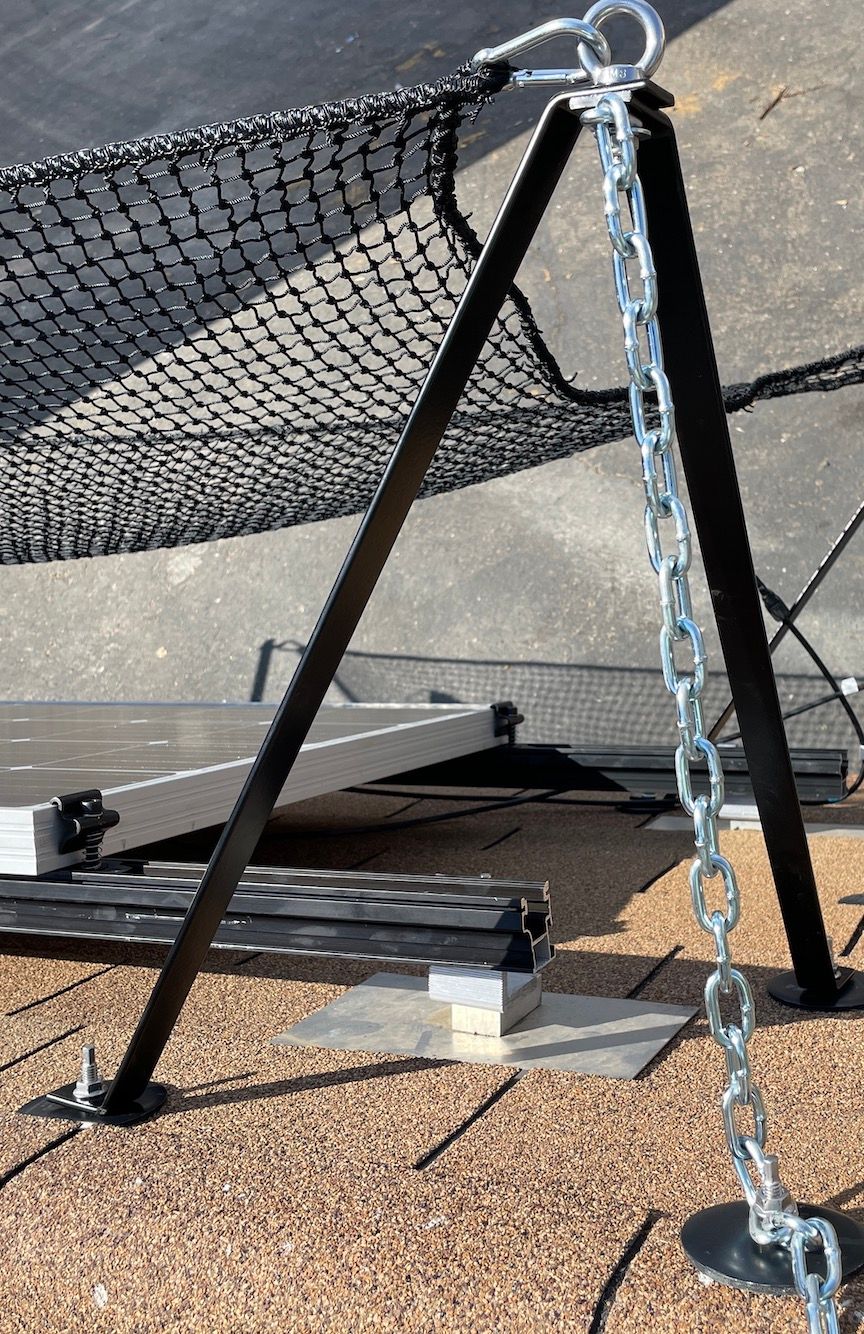
3-Point Supports can be attached to foam or composition roof coverings. A variety of roof attachments are available.
Universal Roofjack can use a single lag into a roof rafter, or 4 lags into the roof sheeting.
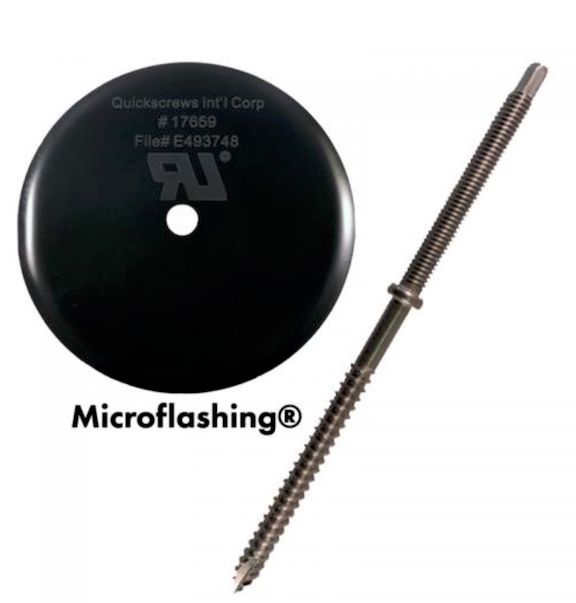
When rafters can be positively located, the microflashing roofjack provides ease of installation.
When solar modules extend to the gutter edge of the roof surface, the Gutter Edge roof anchors enable 3-pt supports to be secured right at the gutter edge.
If the net is slightly large, creating a droop, spin the corner net around a few times to consume the excess, then attach to the Net Support. |  If the net does not quite reach the Net Support hook-eye, a tensioner chain can be inserted, using the best length to hold the net in position. |
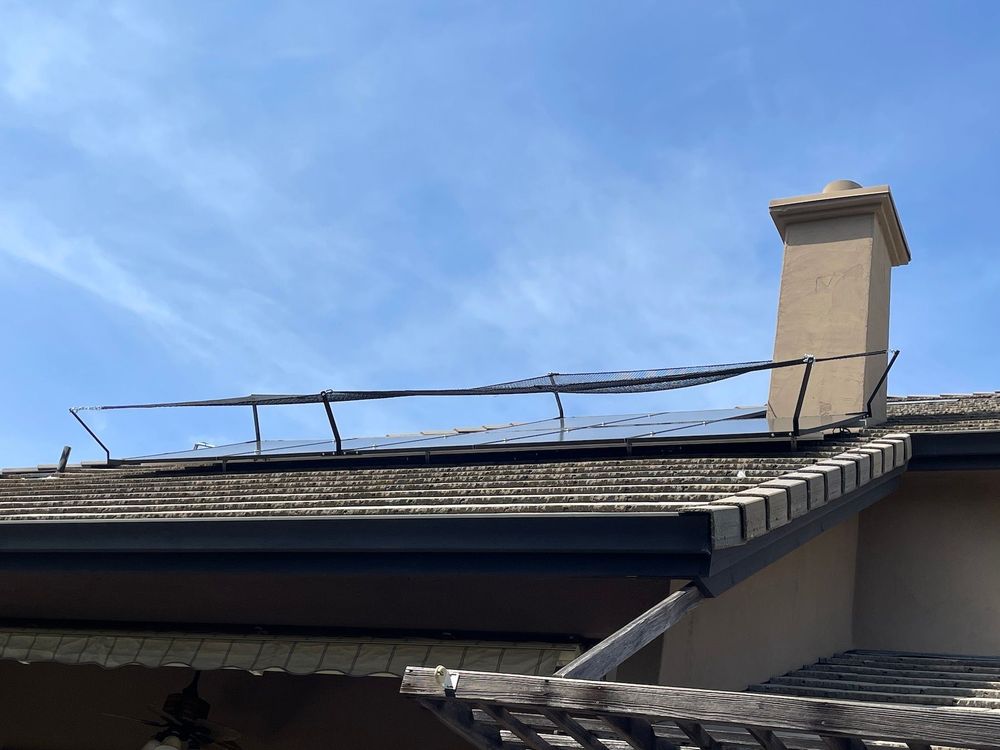
At times a second tensioning effort is required. Generally the sag is more pronounced in the morning.
Net Sag In The Morning Following A New Installation. | 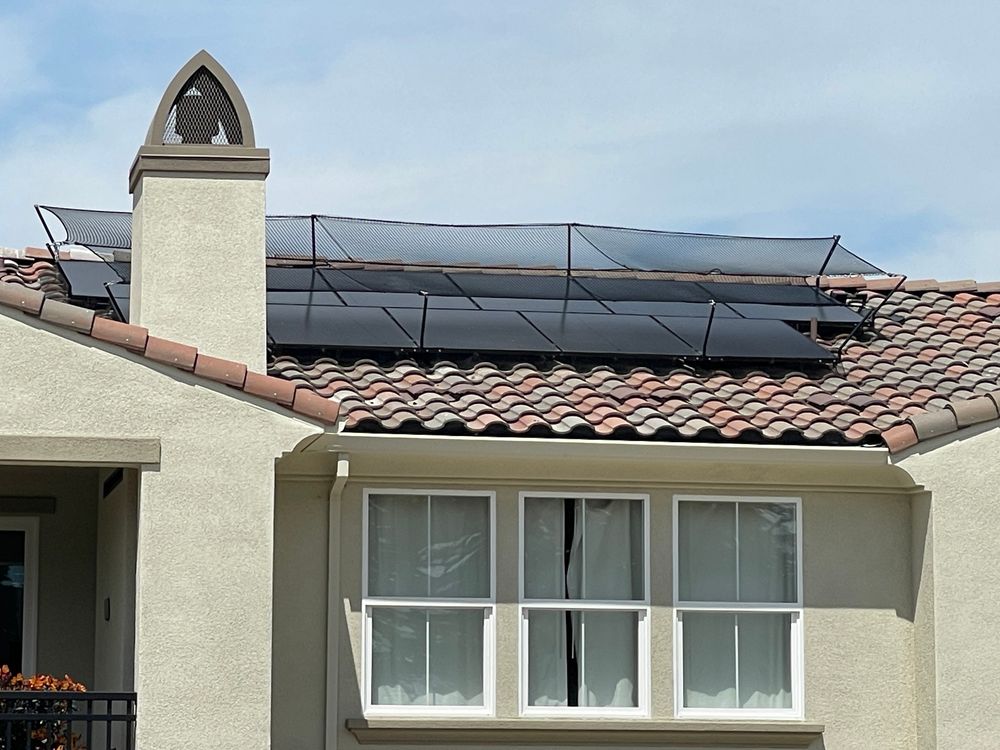 After A Second Tensioning In The Morning Of A Cool Day There Is Little Sag. |
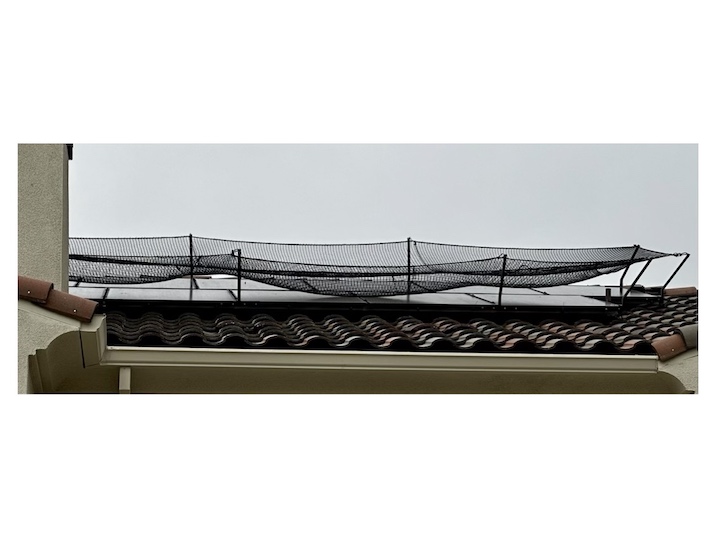
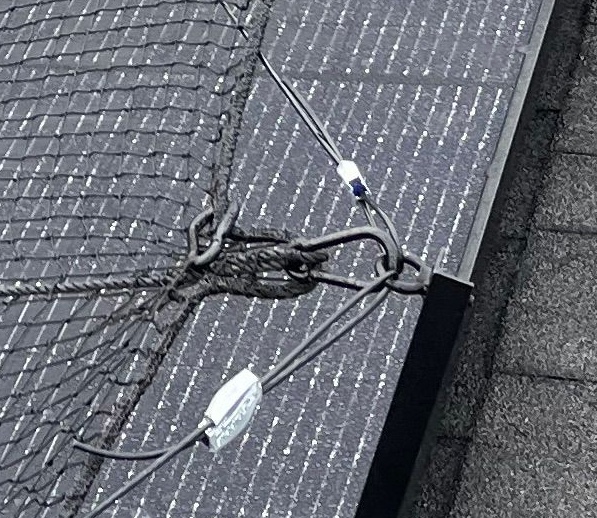
If a large net has sag that cannot be eliminated by a morning adjustment, a Support Wire can be installed. This is sometimes needed in areas with large temperature and humidity swings. Support Wires span between net supports, underneath the long net spans, and can be periodically adjusted as needed.
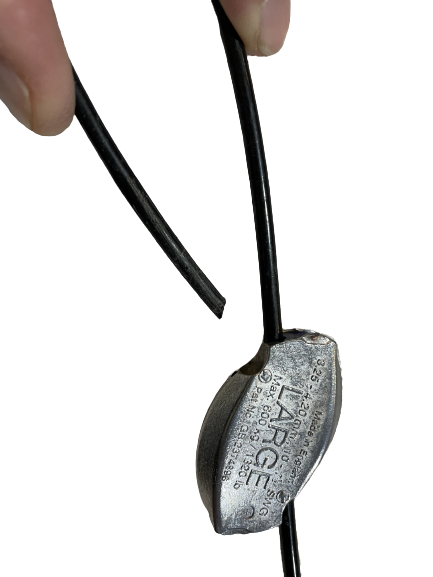
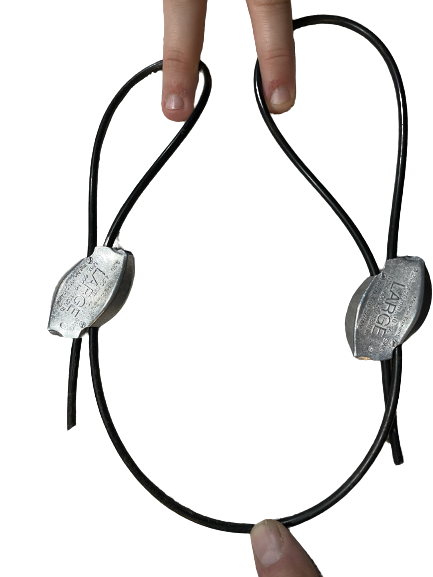
After inserting the support wire through the first hole, pull 6-inches through. Circle back, and insert through the second hole, creating a loop on the end.
Self-locking zip connectors holds support wires tight after each adjustment. Typically support wires run diagonally.
Net installations that cover small solar arrays will sometimes fit perfectly between the Net Supports with little droop or need for adjustment chains.
It is not necessary to hire expert solar installers for SolarNets installation. Typically homeowners or a handyman with a helper can easily install most nets in 1-2 hours.