Installation Instructions
Last updated at
SolarNets installation time is fastest when using Direct-Attach solar supports.
It is not necessary to hire expensive solar installers for SolarNets installations. Typically homeowners or a handyman with a helper can easily install most nets in 1-2 hours.
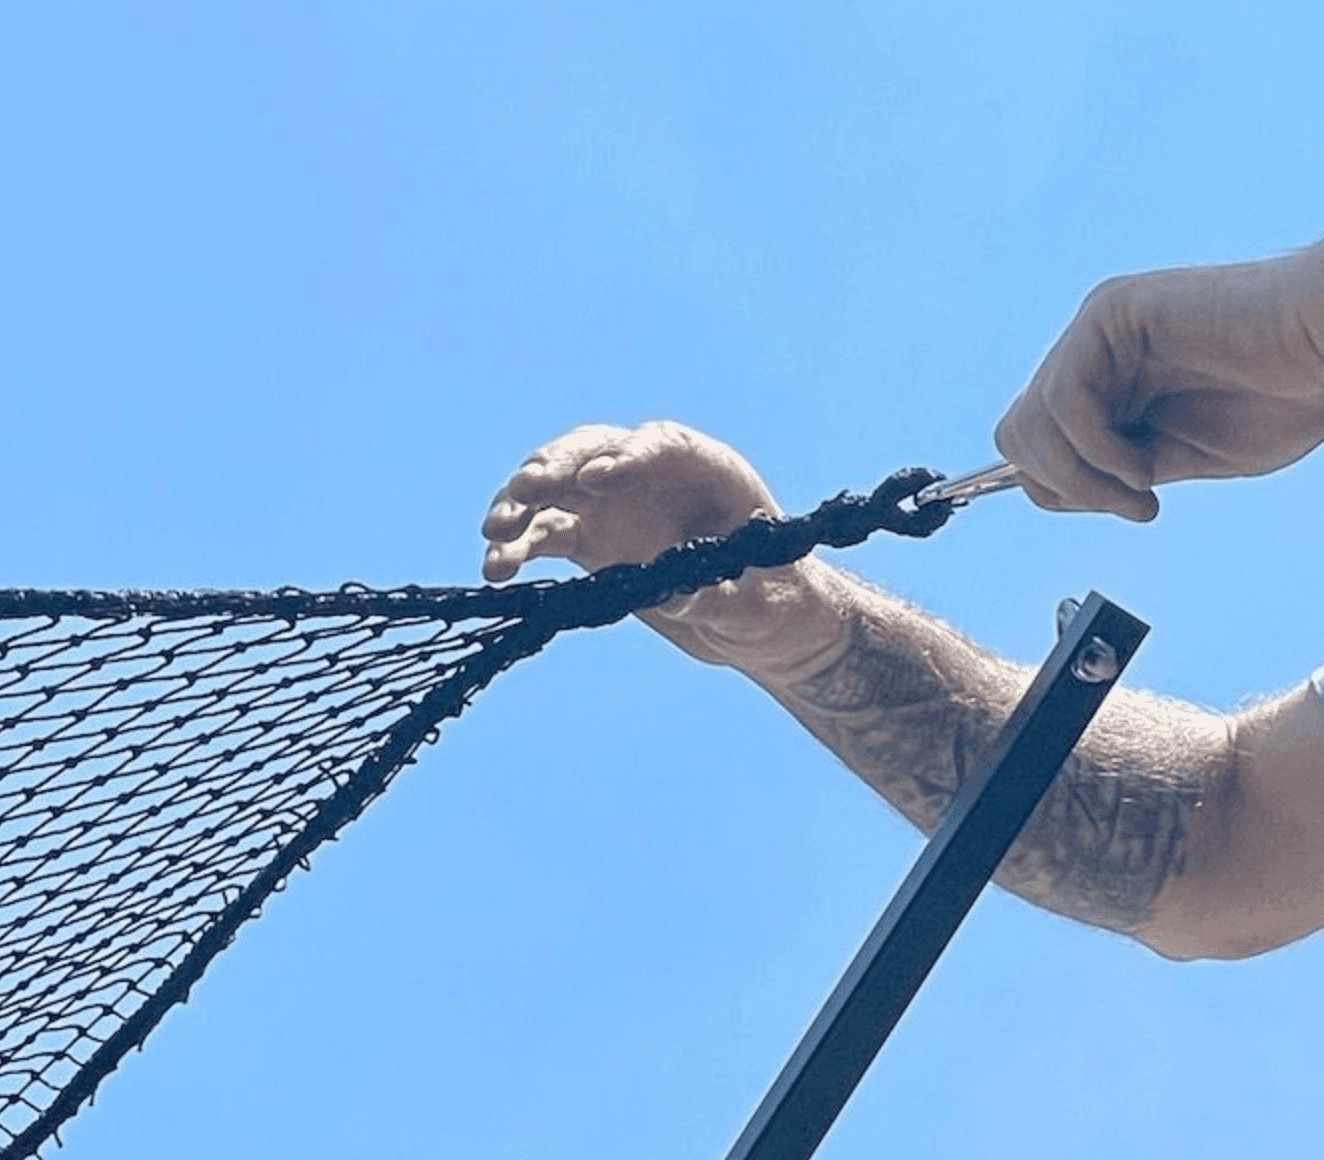
If a net is comprised of multiple smaller nets, join nets together using carabiner spring clips while at ground level, then transport the combined net to the rooftop.
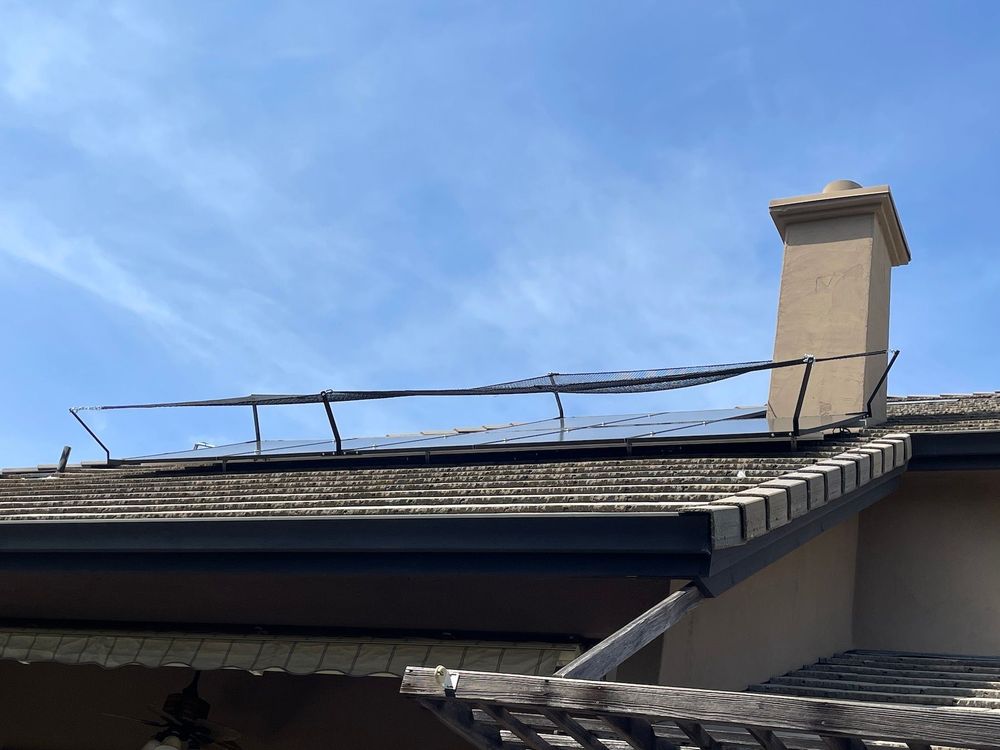
The process of installing the net is best done in 4 steps.
First, turn-off the solar system
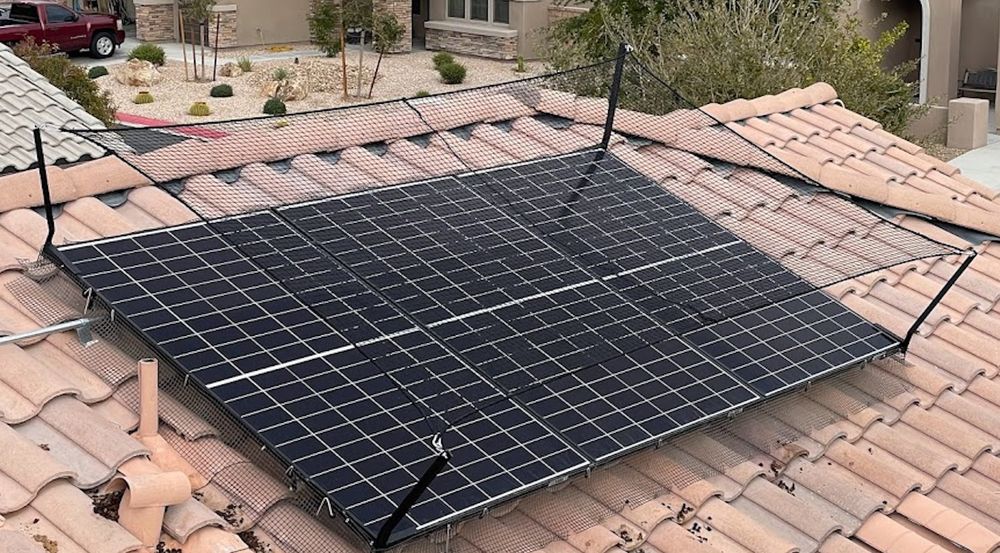
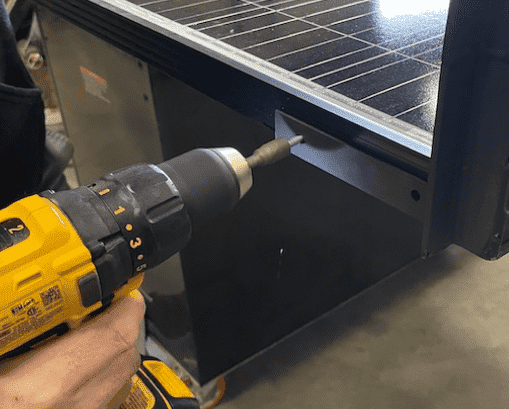
Second, Install the Corner Net Supports. Install the Side Net Supports approximately every 6ft in gaps between solar modules. Use self-drilling screws to attach the supports to the solar panel frames.

TAKE CARE THAT SELF-DRILLING SCREWS TO NOT PIERCE WIRES LAYING INSIDE THE SOLAR MODULE FRAME.
Third, lay the net loosely in place, connecting to the supports as needed to hold the net in place.
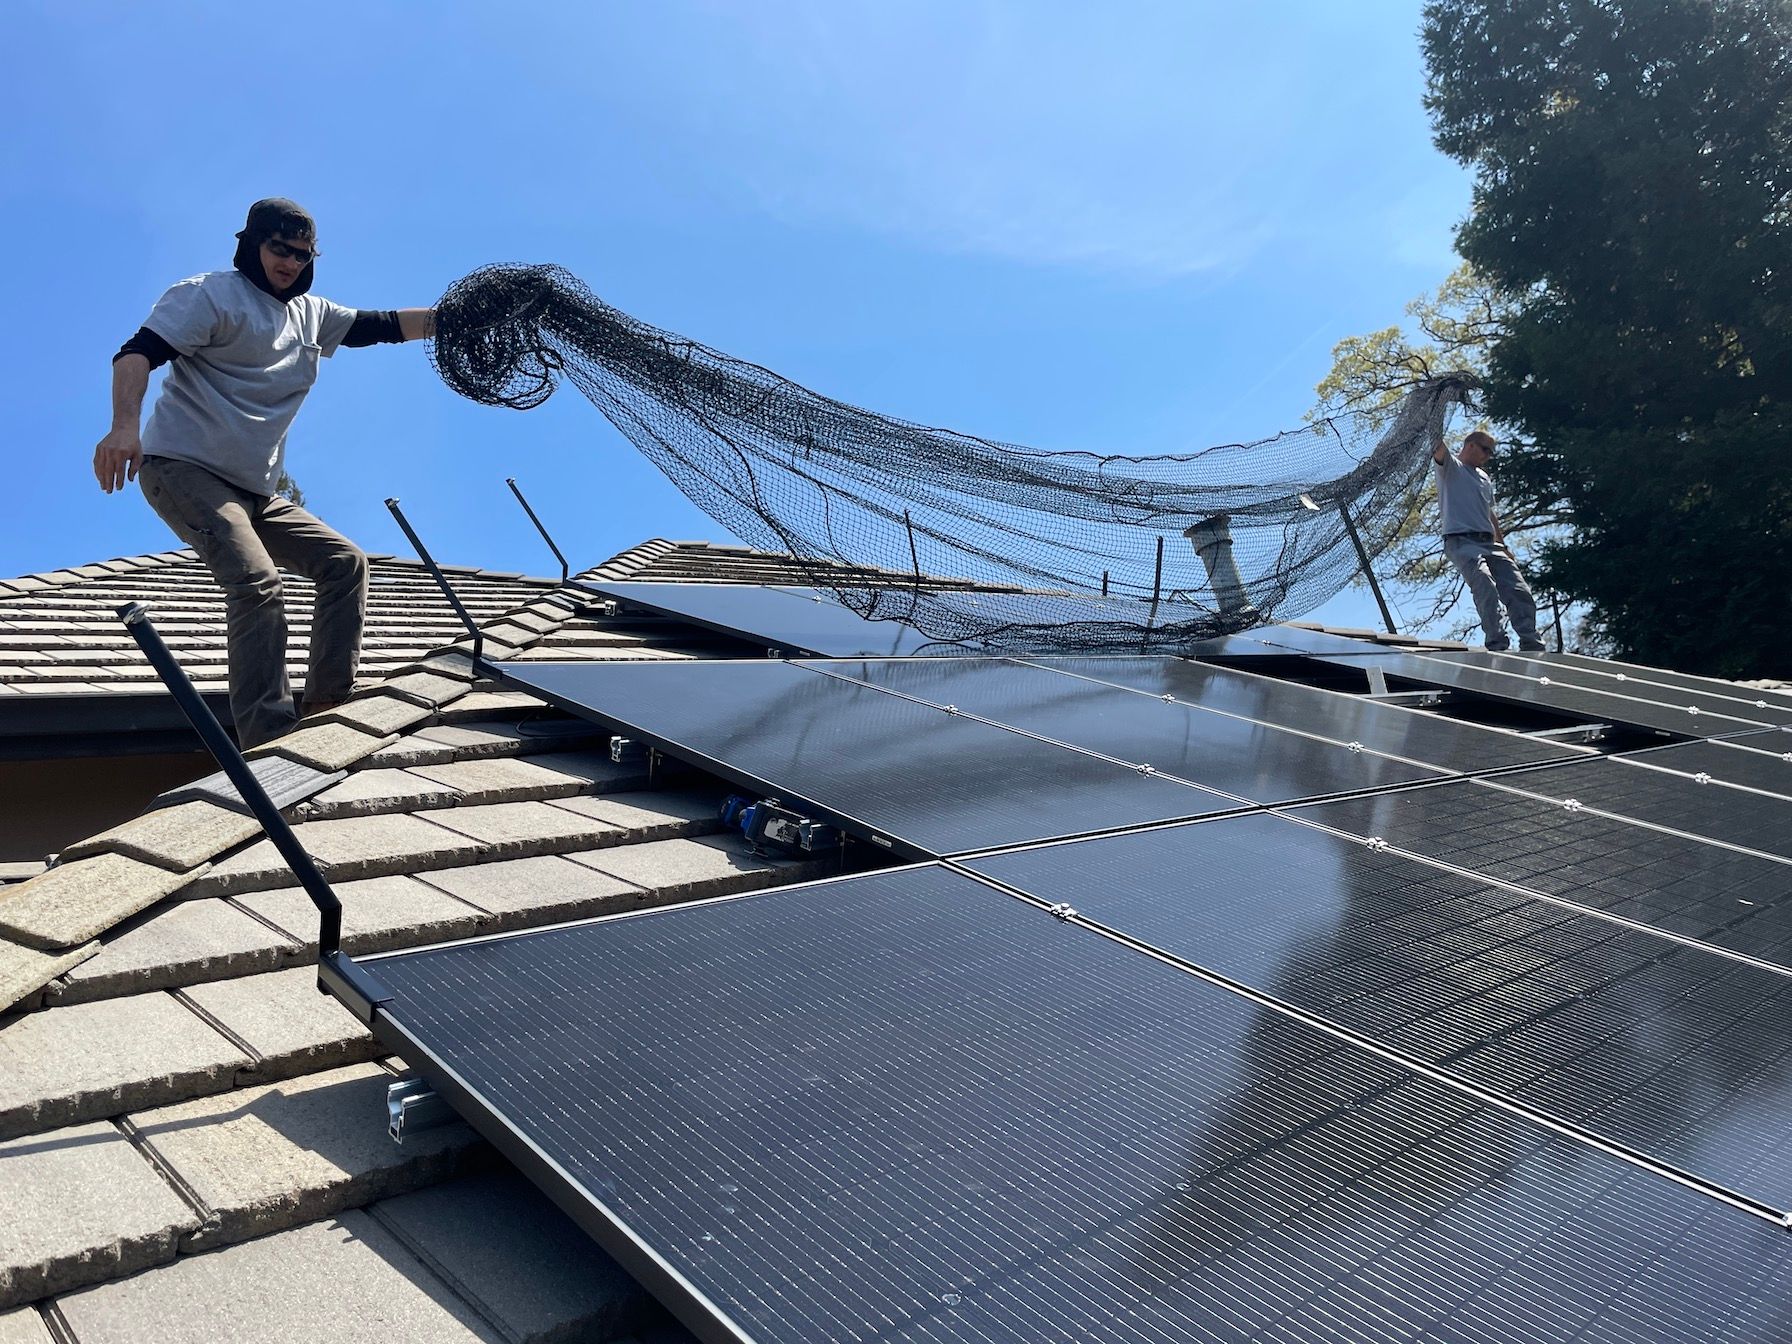
Fourth, proceed around the net a couple of times, securing every connection point and gradually pulling the net tighter each time, selecting the appropriate chain link for attaching the carabiner spring clip. The net should be tensioned to eliminate center droop.
If the net is slightly large, creating a droop, spin the corner net around a few times to consume the excess, then attach to the Net Support.